The Demon Pentest Shell
A simple shell wrapper for superior logging capabilities, the Demon Pentest Shell is built by penetration testers for penetration testers and Red and Purple Teams.
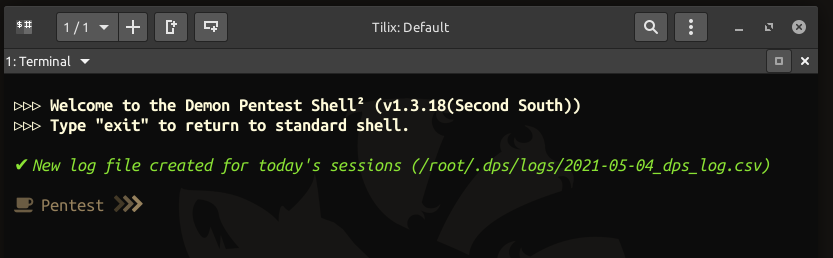
Figure 0x0: The Demon pentest Shell with the “Brew” theme enabled.
Logging
All commands are logged to daily-labeled CSV files within the ~/.dps/logs/ directory with the values of:
- When
- Host
- Network
- Who
- Where
- What
A New Shell
The idea for this shell came out of the need to have timestamp-perfect execution times for Penetration tests, Red Team engagements, and Purple Team engagaements. The shell also shares it’s history/log files with all instances of the shell. These history/log files rotate each day. So you can have multiple shells open in multiple terminal emulators that all share the same history. The shell also has built-in configuration commands for customizations.
The shell has the following features:
- Built-in updating feature
- Built-in commands and programming logic
- Built-in templates to import your own Python code as a module/built-in command
- Tons of Themes
- Obsidian Timelines configuration settings
- Session Aliases and Variables
- Keyboard shortcuts that should be familiar ;)
- more to come!
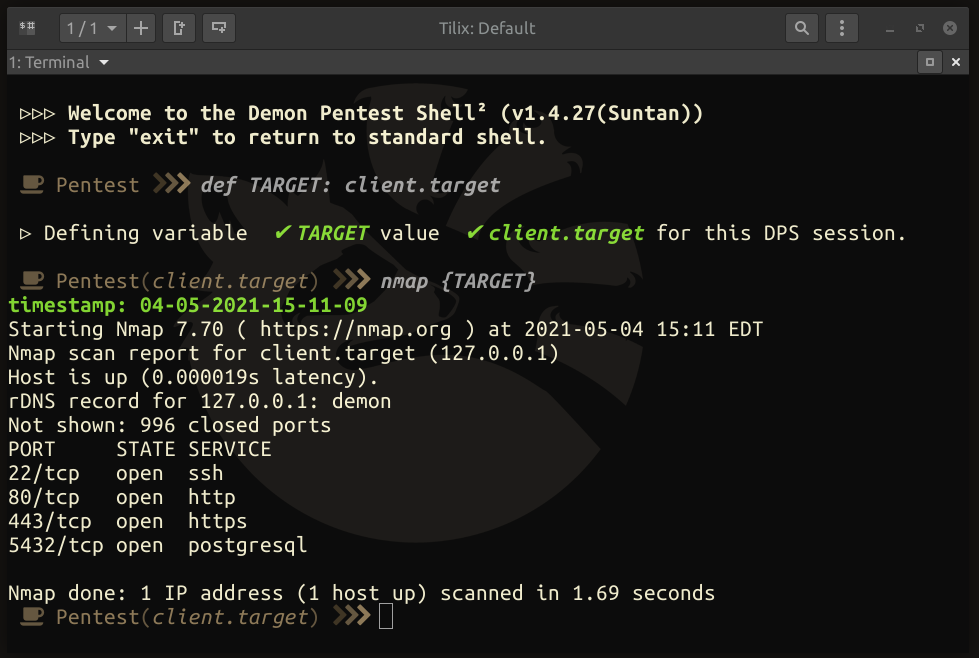
Figure 0x1: The Demon Pentest Shell - Defining TARGET variables updates the shell for personalized screenshots for your clients.
** Notice the bright green timestamp that was spat out before running the nmap command? This is a compatible timestamp that you can use with your Obsidian knowledge base vault for your penetration test. Simply install the Timelines plugin to Obsidian to get started.
Download and Install
The repository for the DPS shell can be found here.. Installation is as easy as running a python3 -m pip install -r requirements.txt and simply executing the ./dps.py file.